Adding a Subwoofer to Bose
Bass Enclosures - Review Infinity Bass Link -
If like me you have felt that the Bose in a Coupe was good but lacking in some backup or have been cheesed off with TTR owners claiming that theirs is better because they have an extra sub,
Then this is the solution for you....
This is specific for this subwoofer but the principle is applicable to any sub or amp combination.
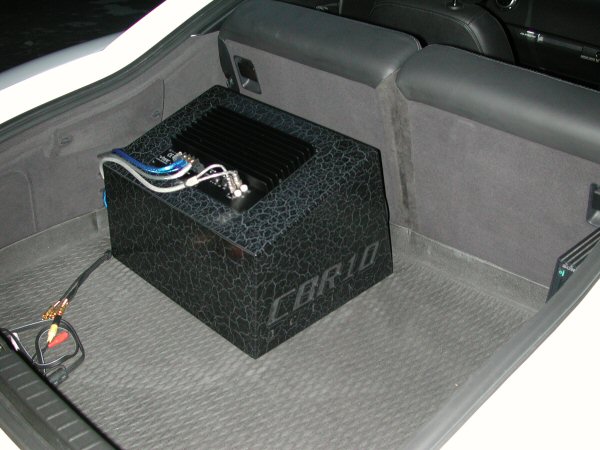
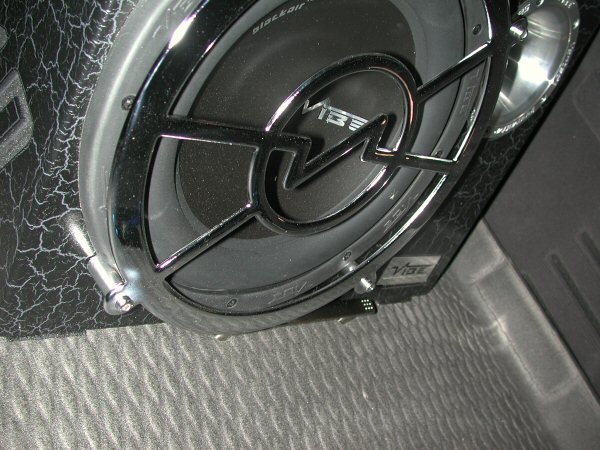
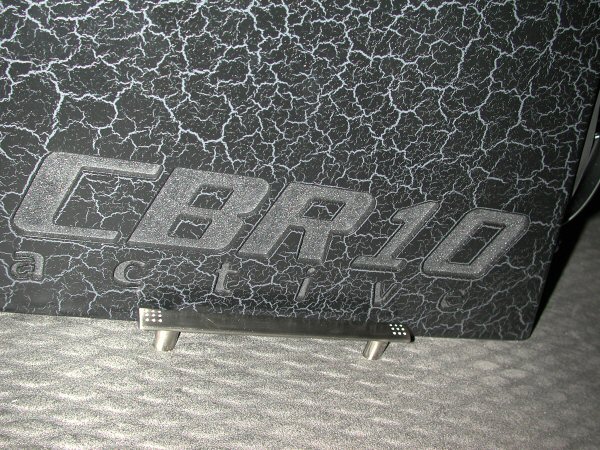
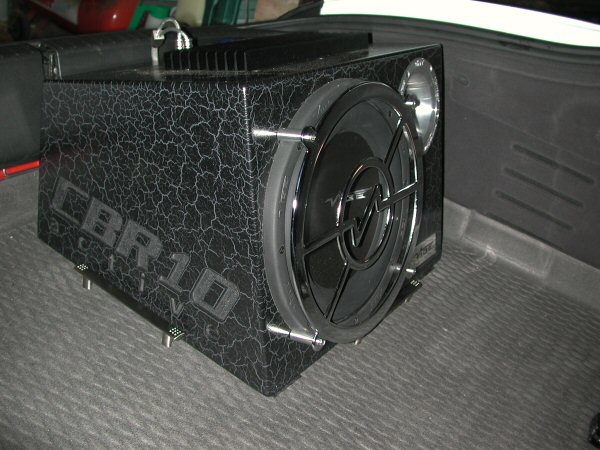
I opted for a Vibe CBR10 Active which complements Bose and the car perfectly, I have to say it was the design that swayed me but the sound is fantastic as well.
HOW TO FIT
You will need to consider the installation in
terms of the power rating of kit you are going to install as the choice of 8AWG
or 4AWG wire will be dependant on this.
For the CBR10 300W RMS amplifier the 8AWG is perfect.
I needed the following bits for my install.
Autoleads PC3-11 Mini ISO Connector
Radio Removal keys and torx drivers, cable ties, electrical tape, heat shrink
Ground Loop Isolator + male/female extension
lead
Amplifier Wiring Kit suitable for the amp/sub
power
8mm MDF sheet plus suitable decorative trim to
mount and hold your sub
High Amp Interconnects to make the box easily removable
Coat hanger wire
Protective sleeving
STARTING TO CABLE
Lets start with the cabling as if you cant get
this done your scuppered!
The other thing to consider is you can cable the car right up to the boot and
then perhaps get a shop to demo some subs in the boot for you if everything is
ready.
You may want to jump ahead and remove the glove box but its not necessary yet.
Remove the battery cover, Air box base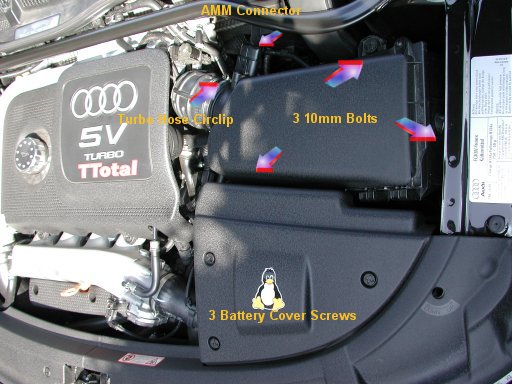
Under the battery cover and on top of the battery is a
distribution board with some large fuses and conveniently a spare 50amp
terminal, you can buy a replacement fuse down to 30amps from Audi to accommodate
a lower amplifier requirement. I tapped my blue power wire onto this terminal,
but leave this until last.
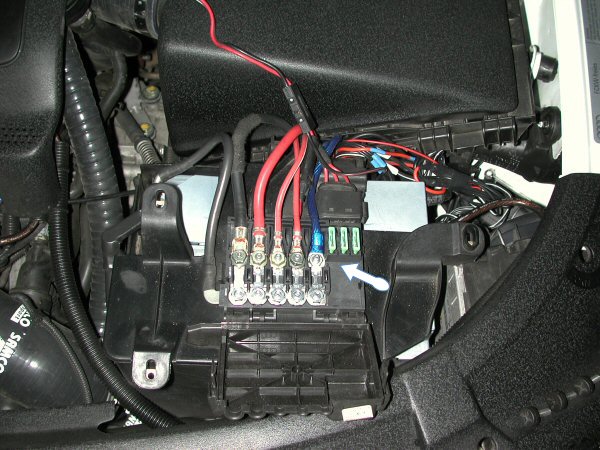
Half way up this box cable guide is an exit hole for some
oem cables and underneath this box is a large wire loom entering the car behind
the glove box, the Box under the Arrow cna be easily unclipped, lifted and moved
to the side to gain better access.
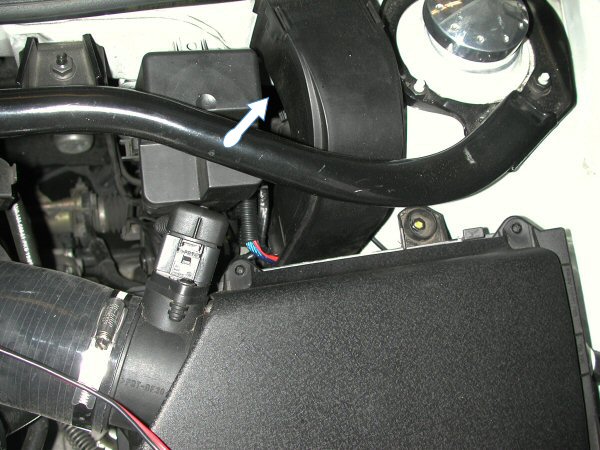
The plan is basically to get the cable to go under the air
box and into the loom entry point in the bulkhead. Use a coat hanger wire to
find a route through and tape cable to it to pull it through.
Either cable from the outside in or inside out but you may need to remove the
glove box to help( described later.
DO NOT CONNECT THE NEW CABLE TO THE TERMINAL NOW!
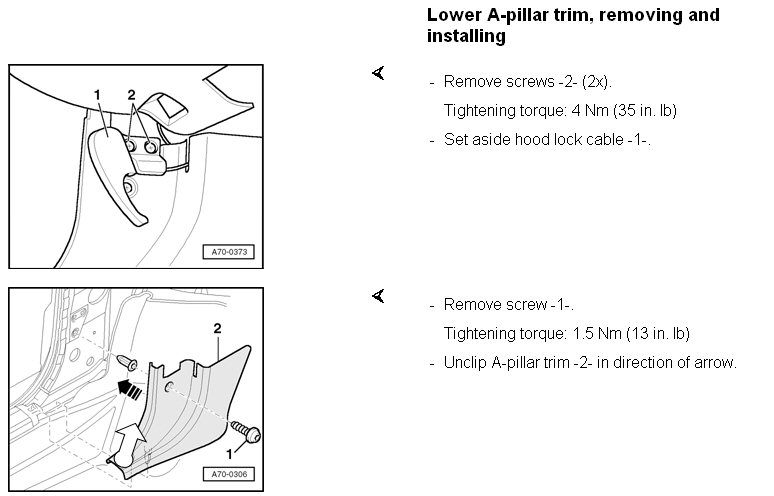
REMOVE THE GLOVEBOX
Release the dash side trim panel by prising it away from
the dash and pulling it out once the 3 spring clips are free to move...
undo the torx screws shown and disengage the light plug (1)
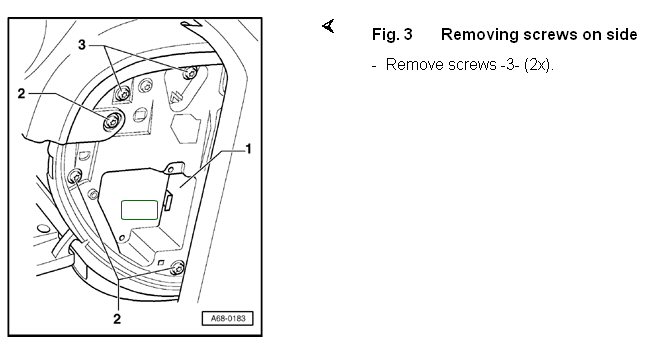
Remove these remaining torx screws but support the glove
box as it will drop and the Airbag wire must be disconnected
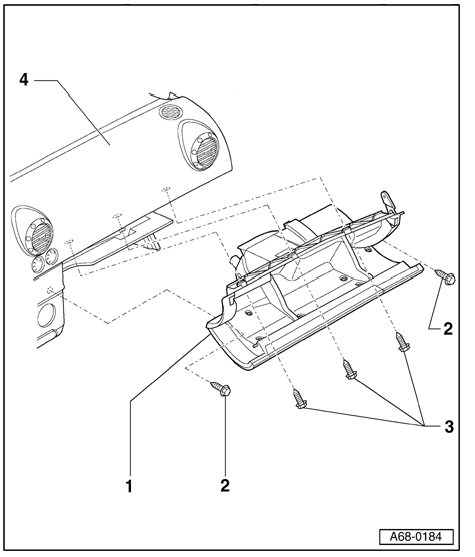
Disconnect the airbag wire before dropping the glove box
and moving it aside.
![]()
ADDING LINE OUTS TO THE RADIO
Remove the radio
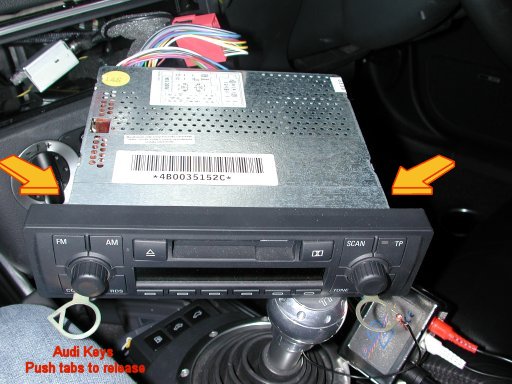
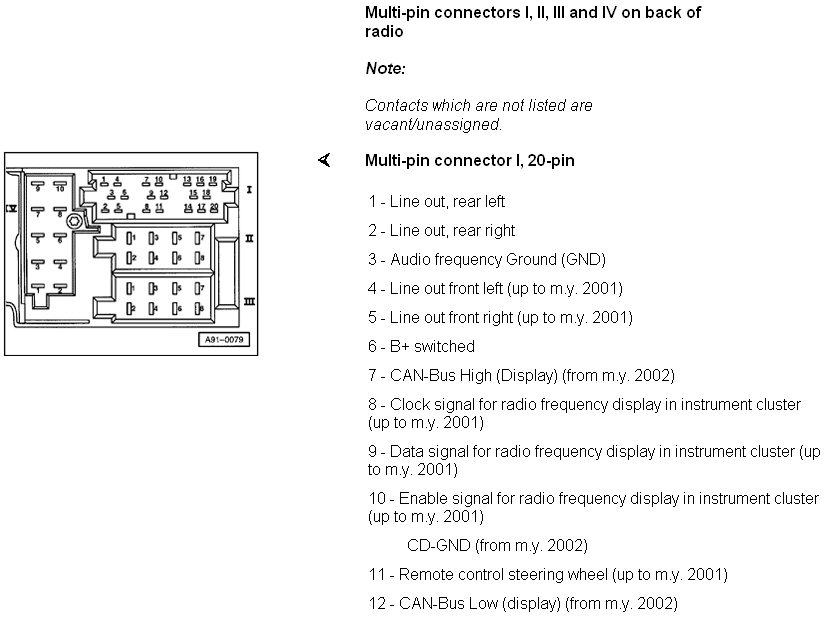
The Coupe/BOSE Mini ISO loom is the I 20 pin connector
Pins 1 and 2 are unused on the coupe so you need to enable them with an RCA lead
Pin 3 will need attachment for common ground. Pin 6 can be used to provide a
switched feed for the amp.
I bought an AutoLeads PC3-11 Mini ISO Loom and hacked it
apart to get 2 RCA's and an earth lead from it.

The reason for doing it this way is to get a pre-crimped end piece to slot into the AUDI ISO loom
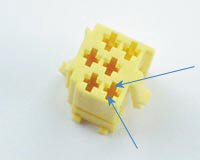
The crimp terminals have little spring clips holding them
in, they need to be depressed to release them
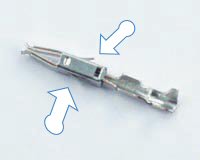
Use a pair of straightened staples or paper clips to insert
into the slots around the clip to then release them.
The removed RCA's common grounds need to be attached to pin 3 and a scotch lock can connect it to the loom plus heat shrink for any exposed wire.
The release left/right audio leads with crimped terminals can be installed into the Audi OEM Mini ISO Loom in the holes for Pins 1 & 2
A scotch lock and flying lead attached to the cable from
pin 6 can provide the switched feed to the amp.
NOTE: although this works I am looking into using an alternative switched feed
as this does have a drawback.
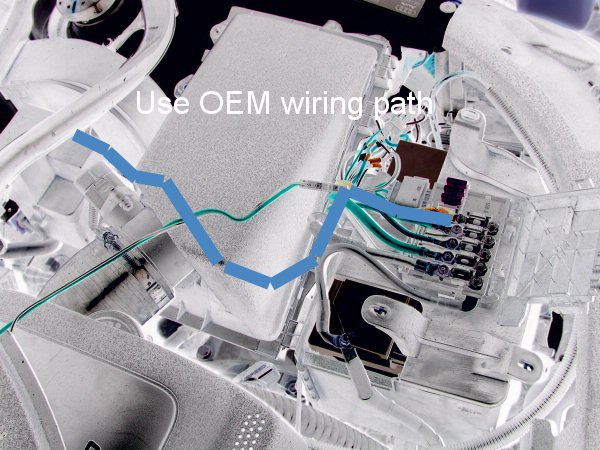
Once you have modded the loom to provide RCA output to the Rear left and right you need to run an audio and switched lead from the head unit along the air conditioning unit to a GROUND LOOP ISOLATOR(GLI), the OEM BOSE system seems to have 5v running along the common ground for some kind of control, this will cause problems in noise and possibly damage.
The Autoleads Ground Loop Isolator will isolate 5v in the common ground and protect your equipment, its a bulky box and will need mounting on the AC unit near the blower motor. Connect a long audio cable to the other side of the GLI.
The switch cable and audio cables should be taken across to the side of the car and meet the main power cable.
RUNNING CABLES TO THE BACK
Its not recommended to run power and Audio cables together so keep them separate by 3cm at least.
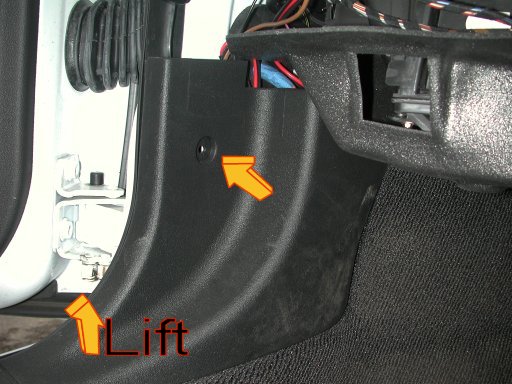
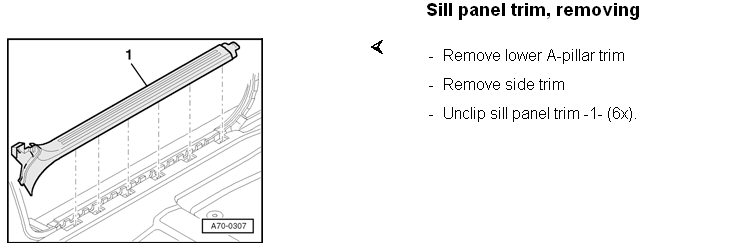
Remove the lower front trim panel...pull it out of the sill
trim (arrow)
Remove the rear seat bench.
NOTE: A bolt holding the ISOFIX mountings is ideal for a rear ground point.
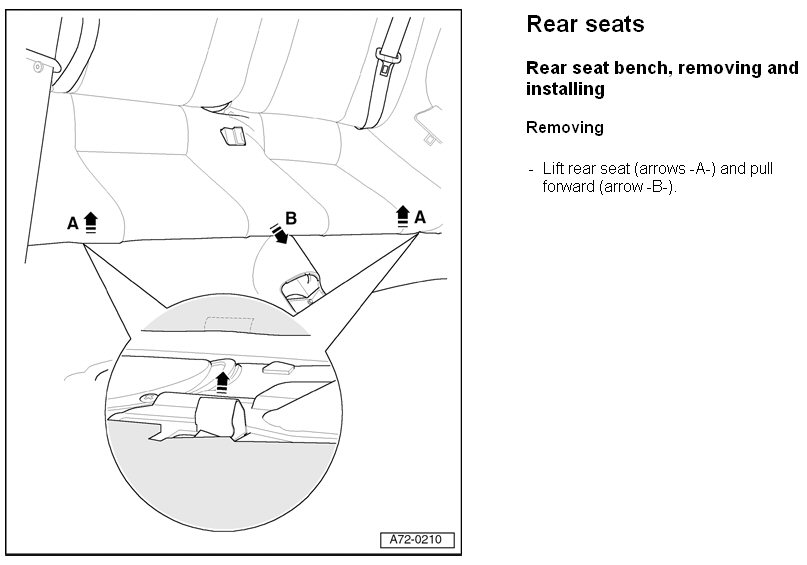
Pull the rear seat panel at the lower front area only...the
bit marked with the arrow, it doesn't need to be completely removed
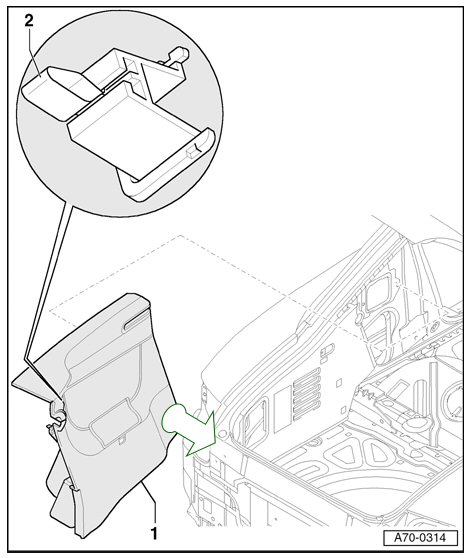
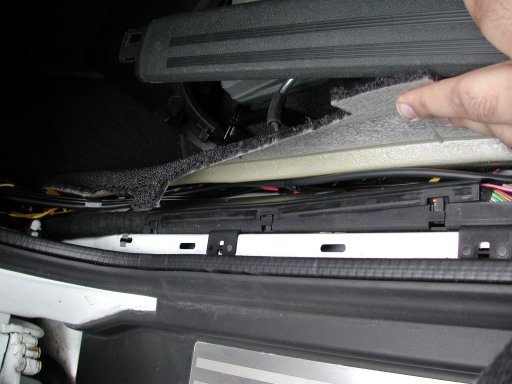
Disengage the sill trim panel, just pull hard.
Under this panel you will find a black conduit box for the oem cables, you can run the power and
audio feeds above and below it to keep them seperate.
You should now have enough removed to be able to cable from
the front to the boot.
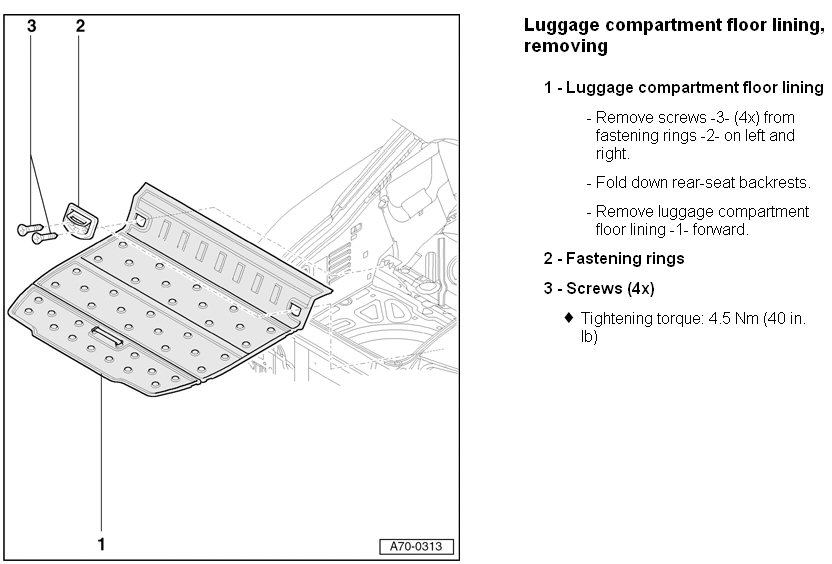
You may need to remove the boot floor to cut a hole just behind the cargo net
clip to allow cable entry into the boot.
After you have run a Power, Switch & Audio left/right plus
earth into the boot you are nearly done.
Wire in enough excess and connectors, the area under the rear seat can house any
excess cable you want to tuck away.
Then go and select your subwoofer.
So long as you have isolating connectors you can now wire in the terminal at the
battery now.
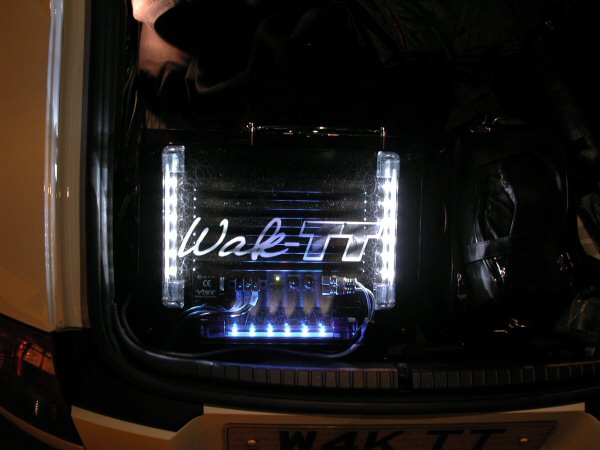
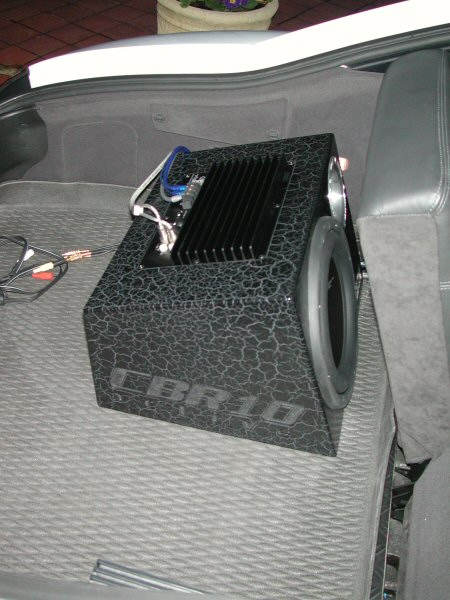
VIBE CBR10 ACTIVE
I chose the Vibe CBR10 because it looks nice but to mainly be a small fit and to lose little boot space.
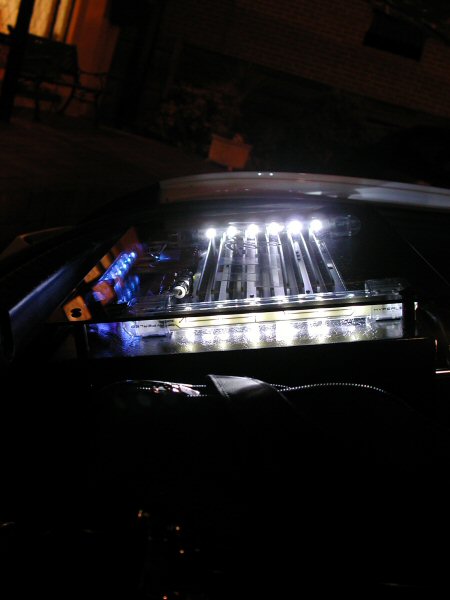
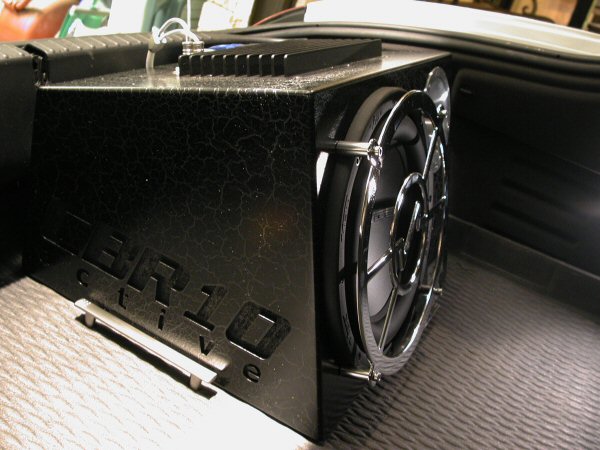
It was initially trialled in this position however the the
area of boot space above the unit becomes wasted.
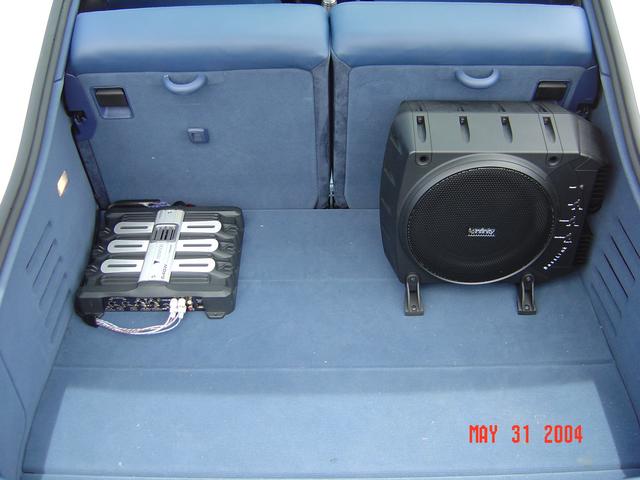
Infinity Basslink, another great sounding sub.
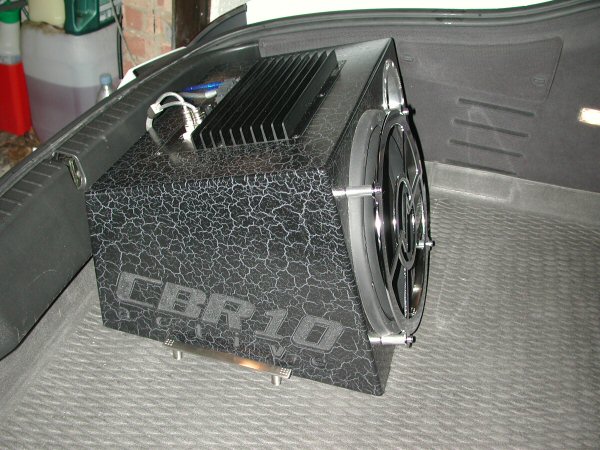
Having a boot mat helps in that you can mount some MDF
underneath and a shopping trip to Homebase revealed some nice dimpled aluminium
handles to use as stops
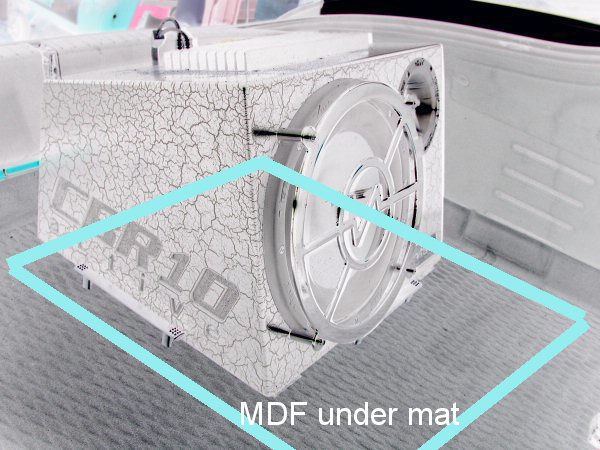
Positioning the box at the back of the boot provides
the most efficient loss of boot space.
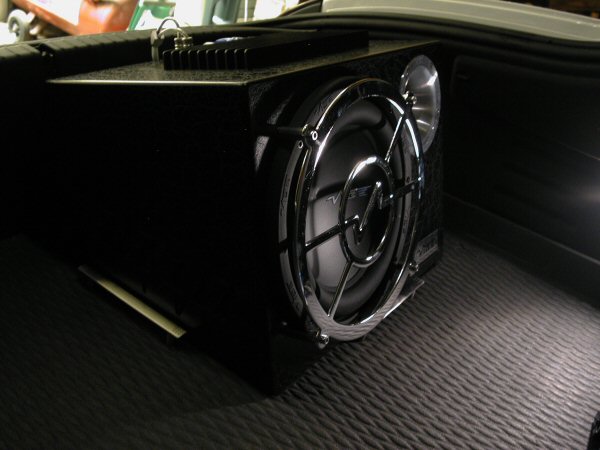
The sound is AWESOME, this kicks ass and compliments Bose perfectly, with a minimal loss of boot space, its removable if needed but I don't want to listen to music without this now!
Having recoded the radio to allow fading, I have complete control of the bass balance and as well as the normal bass control.
Is this too much? :o)